I've been getting complacent lately with my Photoshopping. I know how to use a couple of tools fairly well, but I don't have any exposure to the really advanced stuff, so I'm left with this feeling that I'm doing really well at it. To counteract that, here's my attempt at
this tutorial. I'm not going to explain what I did, because whoever wrote the tutorial did it better, but here's how it came together:
 |
| New document to create the stitch pattern. |
 |
| Side note: choosing the dimensions of a rectangle in Photoshop is not straightforward. You need to try and transform it (Ctrl + T) then right click in the width and height boxes at the top right to change the dimensions manually. |
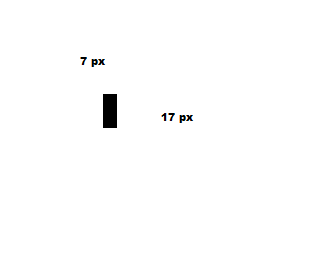 |
| One stitch. |
 |
| Layer styles added. |
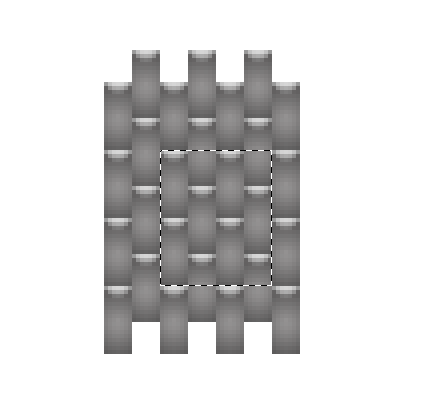 |
| Tessellating pattern selected. |
This step is important. Make sure that the pattern meshes with itself on all sides, otherwise when you go to fill a document with it, you'll have these little artifacts all over where the edges don't line up.
 |
| New document to make fabric background. |
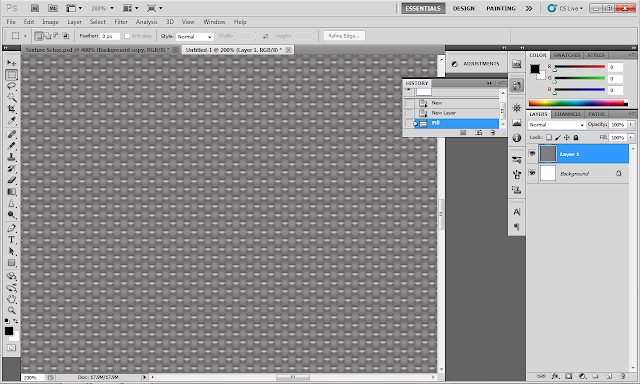 |
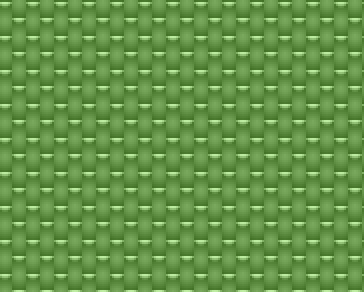
| Filled with tesselating stitch pattern |
 |
| Color overlay. |
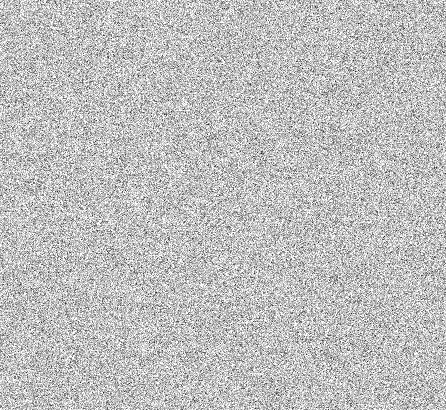 |
| Add noise... |
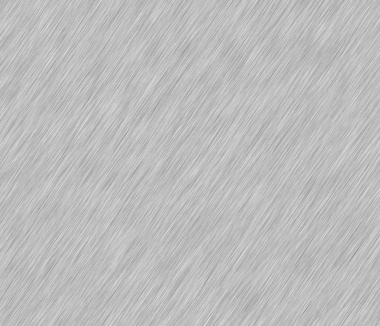 |
| Then blur it... |
 |
| Then overlay it. |
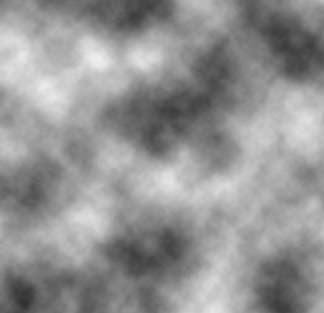 |
| Some clouds for good measure. |
Honestly, I don't really think the clouds did a lot. Although maybe it's one of those imperceptible effects that make the overall thing seem better to your subconscious. I don't know.
 |
| This will be the final document. I'm making a desktop background. |
 |
| Filled with "fabric" and put in perspective. |
I'll interject here to say: I made all the stitches in Illustrator using the Blend tool. If you're going to do this tutorial, I'd recommend picking a sans-serif font with minimal curves and fixed letter widths and heights. It'll save you a lot of grief. Also, I want to mention that Illustrator's ability to edit paths surpasses Photoshop's by ORDERS of magnitude. Seriously....same company, same software suite, couldn't it just carry over? Hmph.
Also, Illustrator's Blend tool is really incredibly powerful. I made the letters by placing two black rectangles at the ends of a straight line, adjusting the number of steps the tool makes, and creating a blend. Very simple to do, but what's even niftier is the curved pieces. to make those, you draw a path that marks the middle of the curve, create an appropriately-sized blend off to the side, and replace the "spine" of the blend. Very quick and very powerful.


No comments:
Post a Comment